Part II: Automate invoice processing using AWS Textract
Exploring Textract SDK
I am a seasoned IT professional with deep experience in delivering business solutions in a variety of industries. Over the years I have successfully handled all aspects of project lifecycle - planning, product selection, analysis, architecture, design, development, implementation and support.
In the previous article, we saw a quick demo showcasing how Textract can be used to extract relevant information from a scanned invoice. We took a sample invoice file, uploaded it through the AWS console and reviewed the information extracted by Textract. In this article, we will use a Python script to programmatically extract data from the same invoice using Textract SDK.
We will run our code as a Jupyter Notebook. This can be done in several different ways. For this demo, we will run the Notebook using Visual Studio Code IDE.
Let's get started by cloning the repository https://github.com/sjejurkar/aws-textract-demo.
Before running the code, we need to do a couple of things. First, we will install the required Python packages using the following command:
pip install -r requirements.txt
Second, this code makes calls to Amazon Textract, so our AWS credentials need to be configured. On Linux and MacOS these are usually located in the file ~/.aws/credentials. On Windows, these are usually located in the file %USERPROFILE%\.aws\credentials. Check this link for details.
Once the packages are installed and AWS credentials properly configured, we are ready to run the code in Notebook invoice_demo.ipynb. The Notebook is in invoice_demo directory.
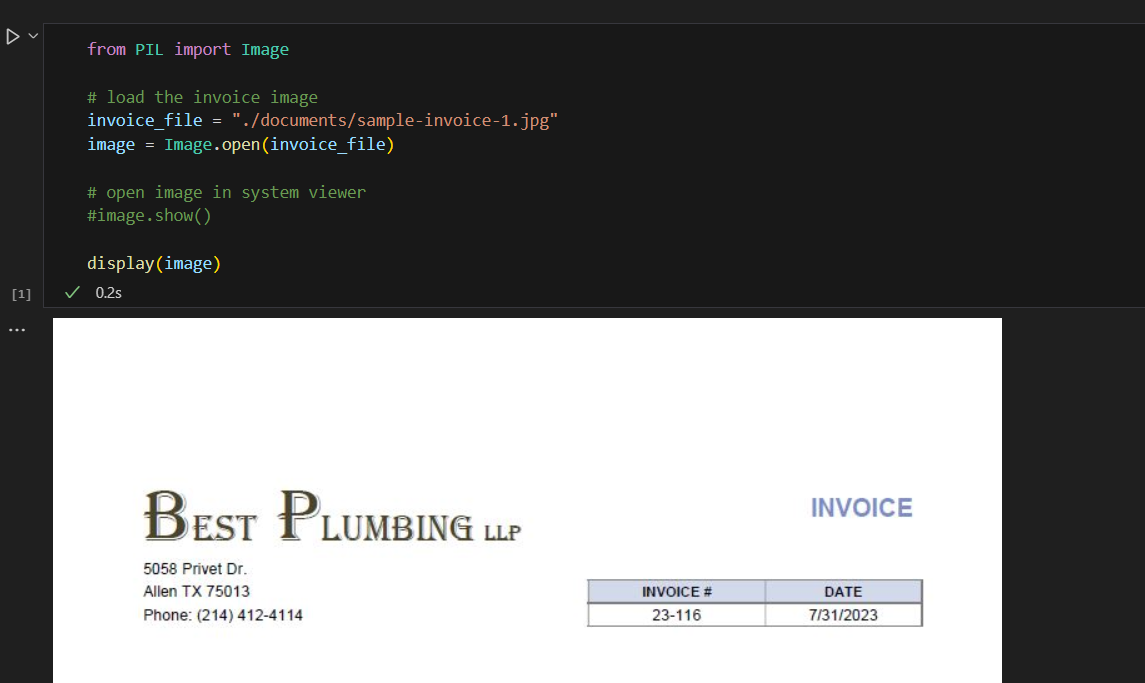
In the first cell of the Notebook, we will load the image of our invoice and display it. Running this cell should display the invoice image as the cell output. The image sample-invoice-1.jpg is located in documents directory.
Next, we will call the Textract SDK to upload and analyze the invoice. Note that method extractor.analyze_expense has been called so that Textract knows that the document we want to process is an invoice. The cell output should show that this document has only 1 page.

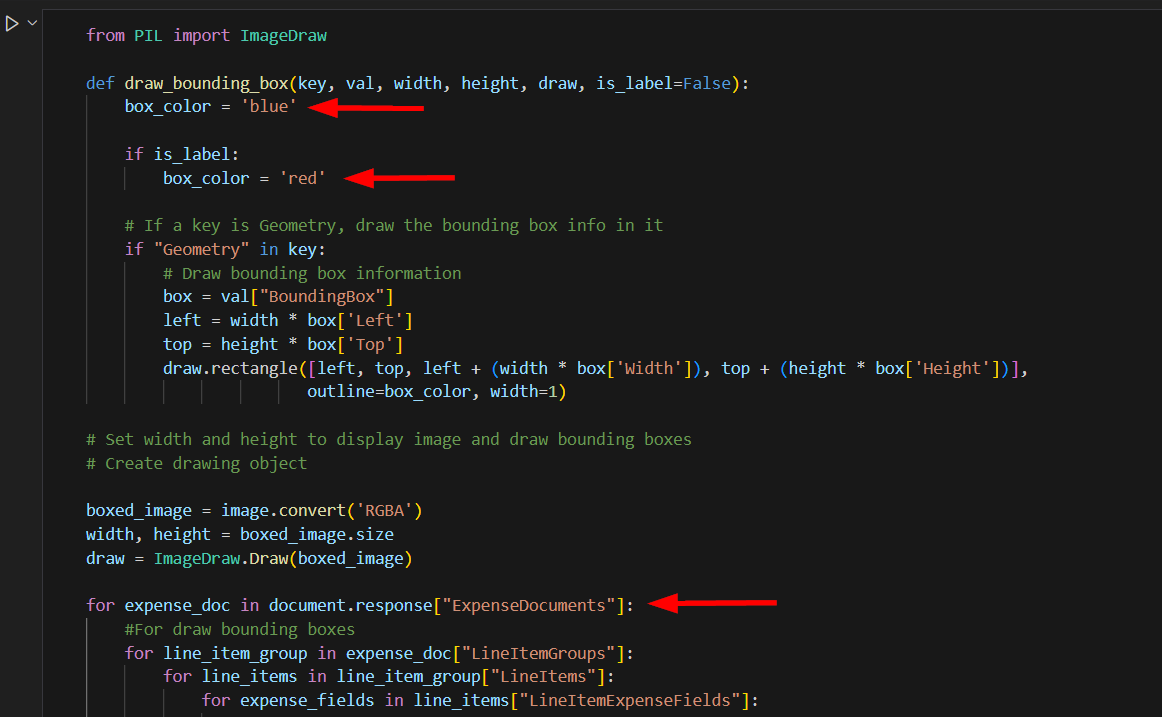
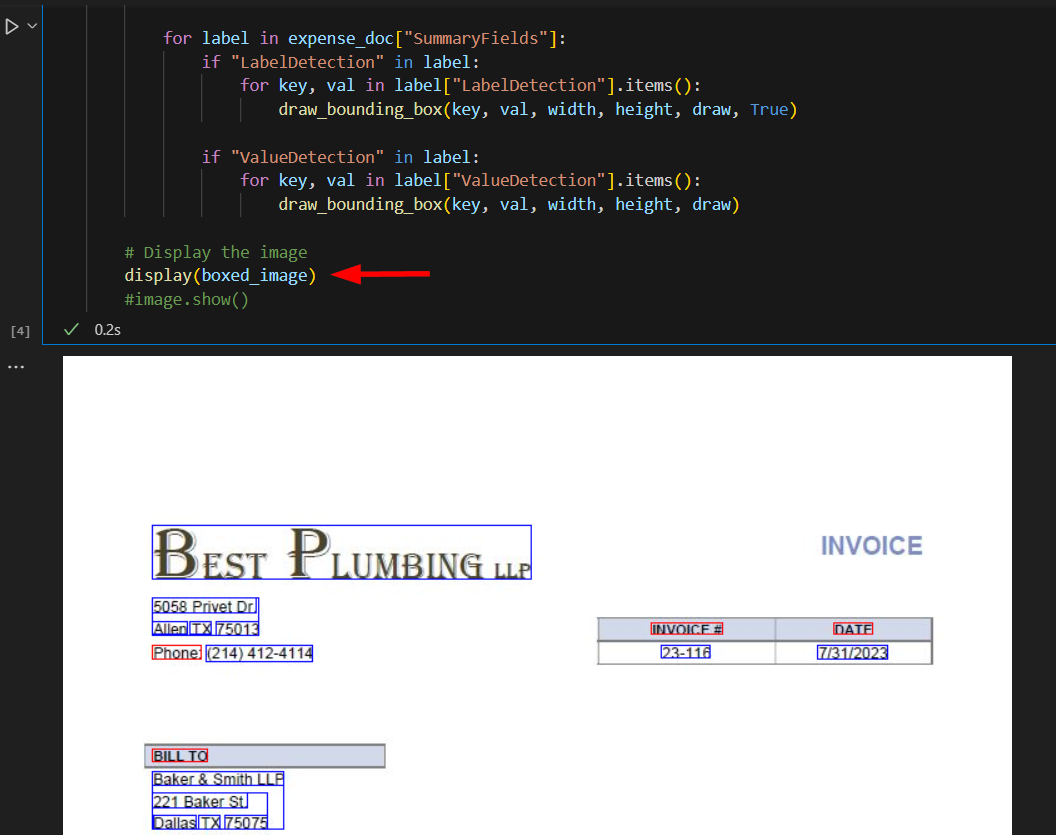
All the details extracted by Textract are available in the document object. Property document.response has JSON that contains all the details. We will use these details to draw boxes around the text that has been extracted. For this, we will take the existing image and based on the geometrical data extracted by Textract, draw boxes around various extracted text items. Boxes around labels will be red and those around values will be blue.
The cell output should show the image with boxes drawn around the extracted text.
Next, let's save this image as file sample-invoice-1-boxed.png in the documents directory for future reference.

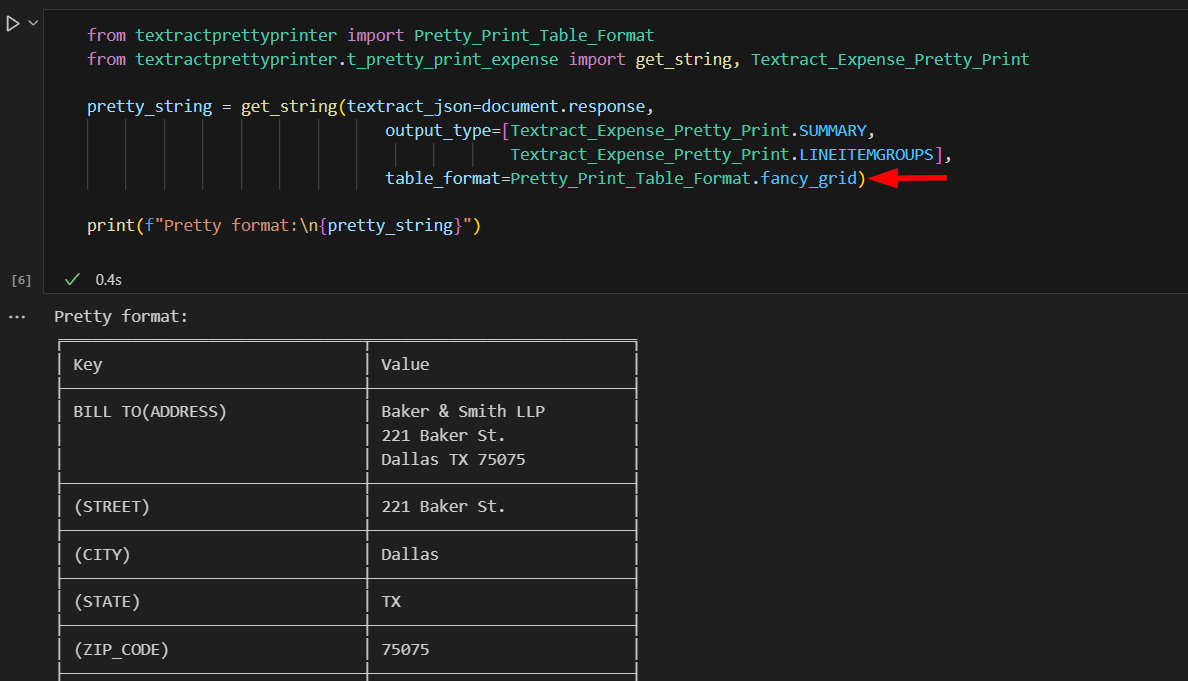
Textract SDK allows for the extracted data to be output in various ways. Let's print the summary data and line items in a readable, tabular format.
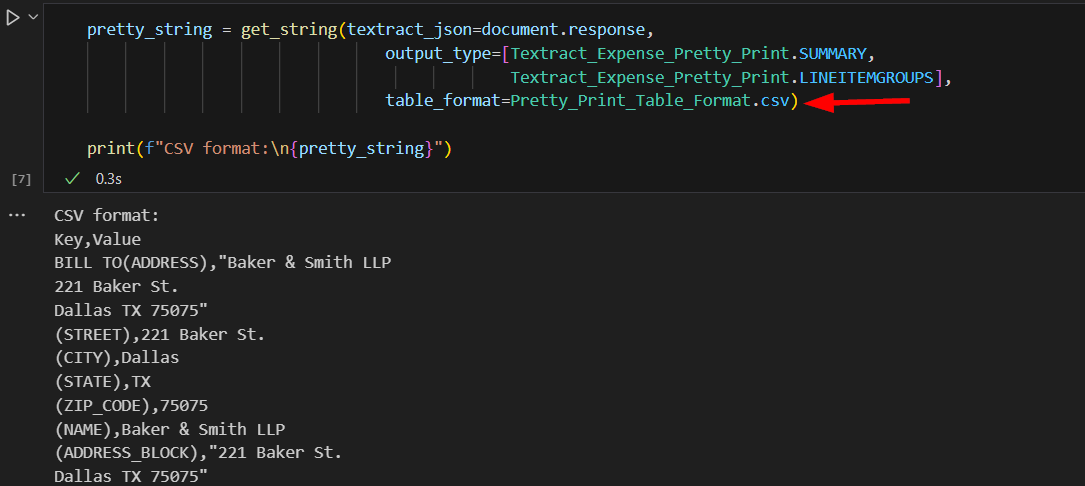
We can also output this data in CSV format as key-value pairs if required.
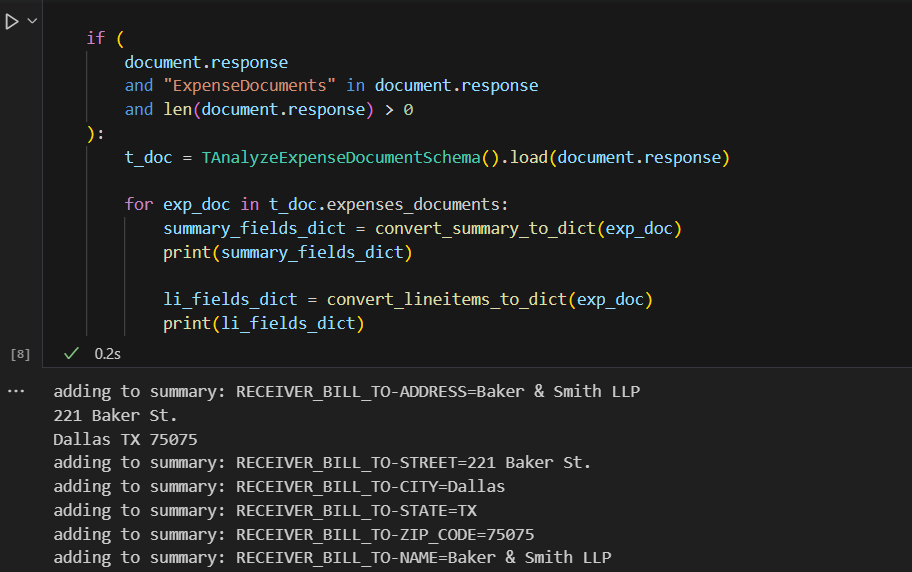
The tabular and CSV outputs are easy to look at or download for further inspection but they may not be the best formats if we want to do further processing. Hence, we will create dictionaries for summary and line items to ease downstream processing.
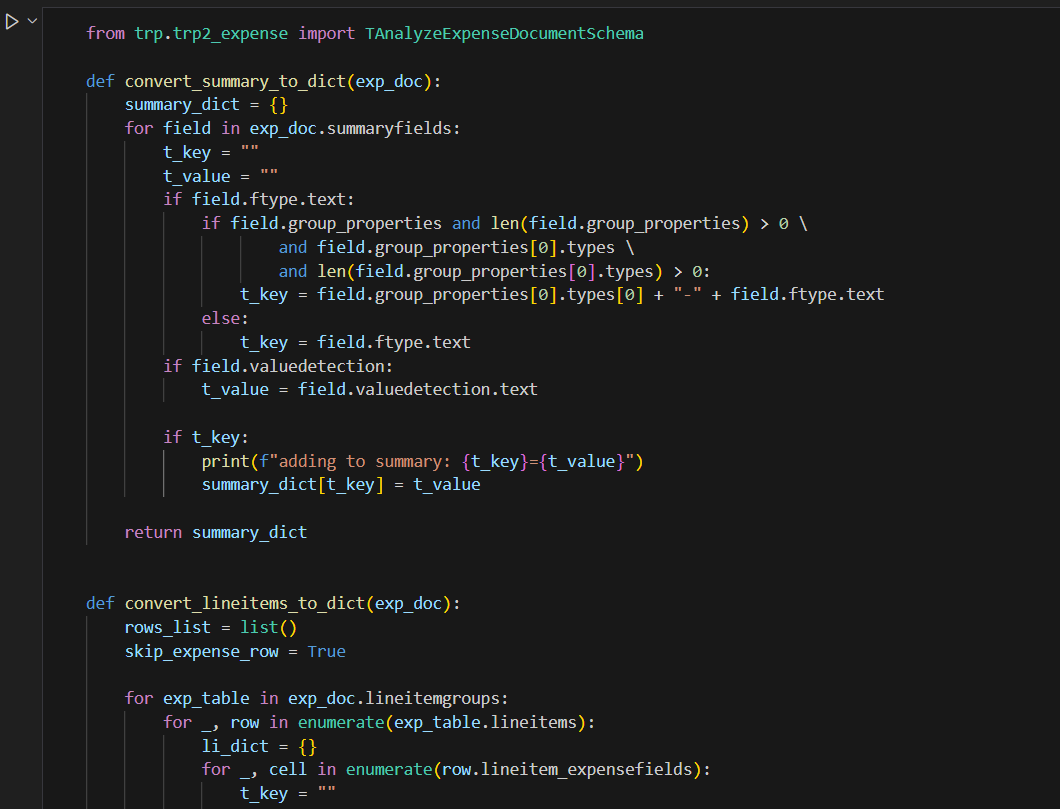
The cell output shows the various items being added to these dictionaries.
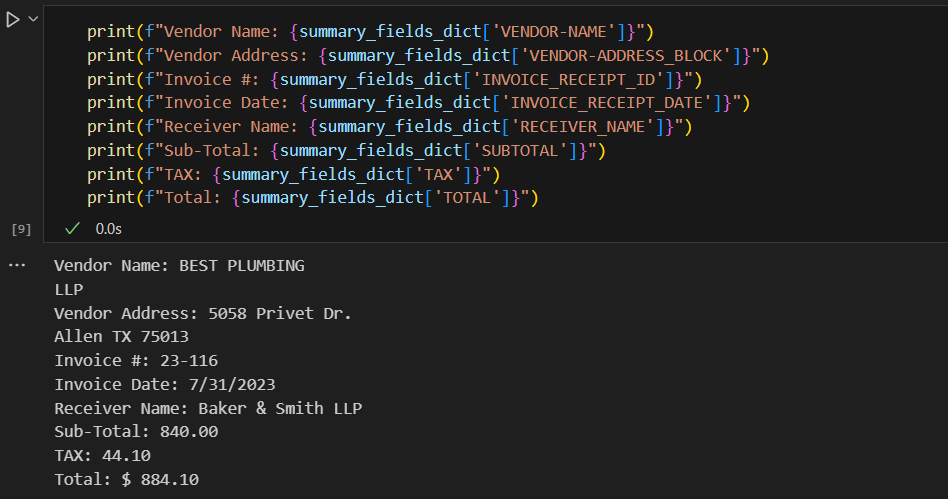
Let's print some relevant information from these dictionaries. Data from these dictionaries can used in downstream operations such as saving to a database, or passing to another system for further processing, etc.
That's it. This article is meant to be an introduction to how Textract SDK can be used to get started with document processing. Play around with the code, try out different things and feel free to share your comments.