Deploying our first function to Azure
Up and running with Azure Functions - Part 3
I am a seasoned IT professional with deep experience in delivering business solutions in a variety of industries. Over the years I have successfully handled all aspects of project lifecycle - planning, product selection, analysis, architecture, design, development, implementation and support.
In the previous article, we created a simple function with HTTP trigger and tested it locally. Now it's time to deploy it to Azure cloud platform.
Create an Azure account
Before we can deploy our first function to Azure, we will need an Azure account. For this, we will go the to Azure website and sign up for a free account. Note that you will have to provide credit card information and some additional information depending on your location. Usually, Microsoft provides up to US$ 200 worth of Azure credit when you sign up.
Create a Resource Group
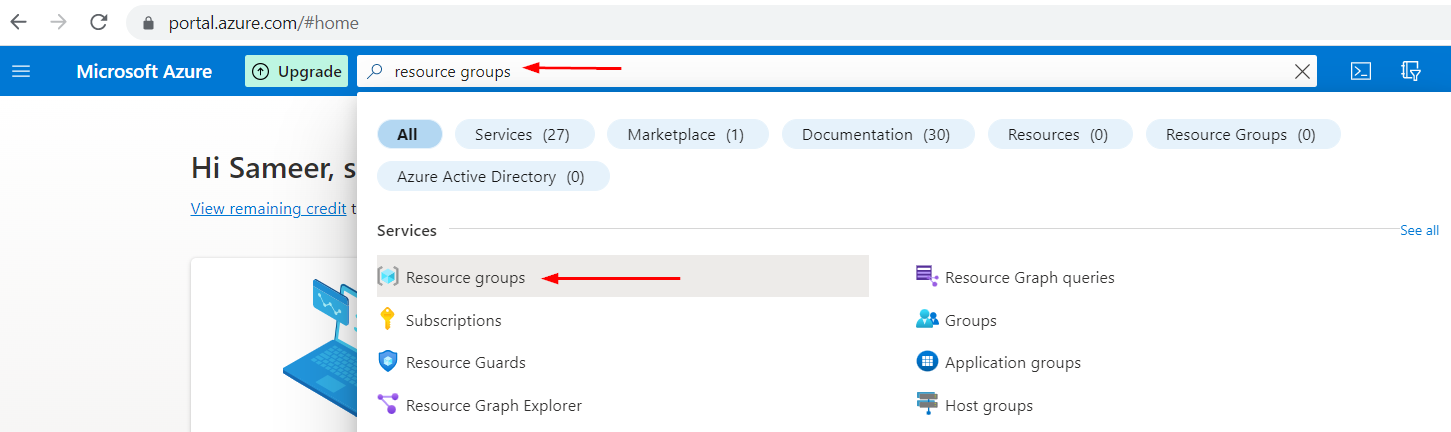
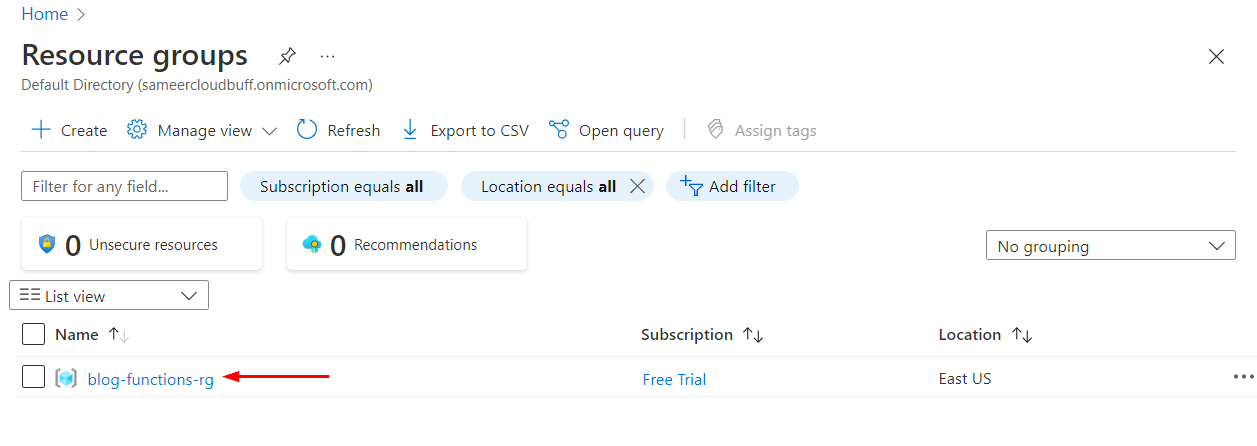
Once you are logged into Azure, the first step is to create a Resource Group. This is simply a logical container for keeping related cloud resources together. Go to the search bar at the top and type resource groups. Click on Resource groups in the Services section of the results.
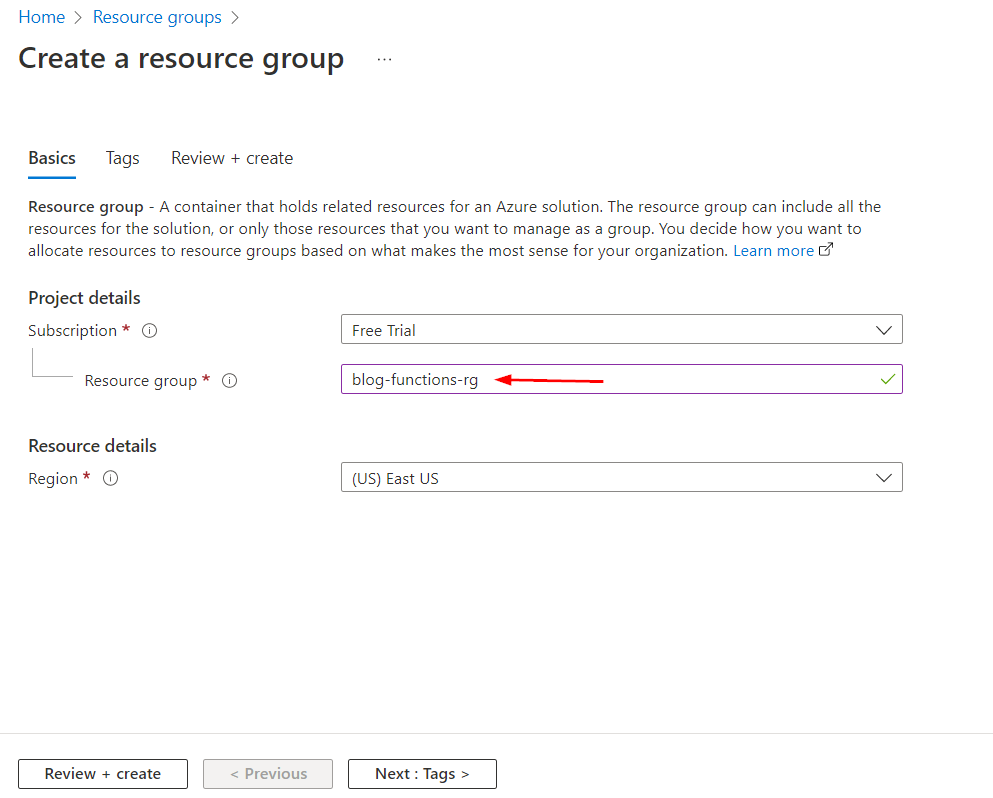
Our subscription should automatically be selected on the creation form. Let's specify blog-functions-rg as the name of the resource group and select a region. You can select any region you like. For e.g., you can choose the region your located in or a region close to you. We will go with East US.
Click on Review + create to proceed. If everything is good, a "Validation Passed" message will be displayed.
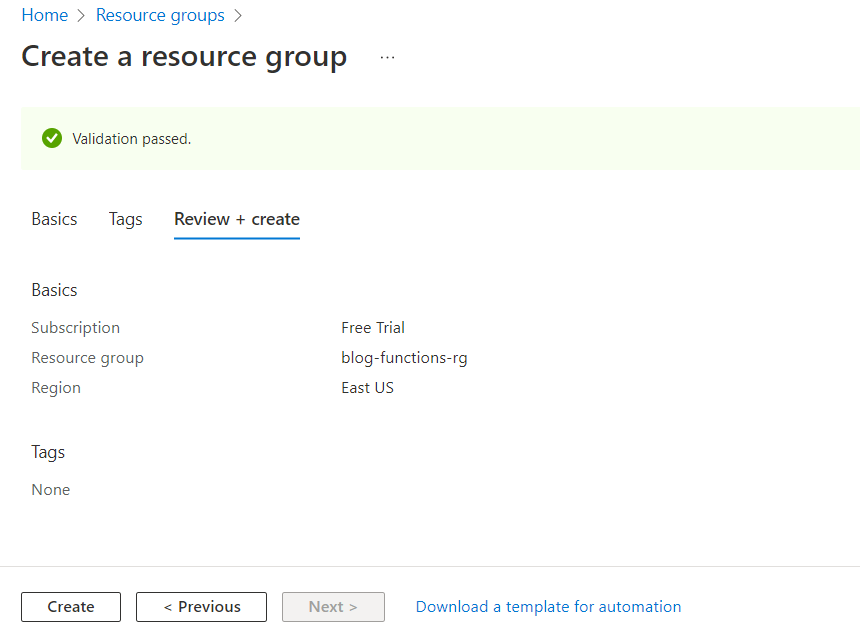
Clicking on Create will create the Resource Group.
Create a Function App
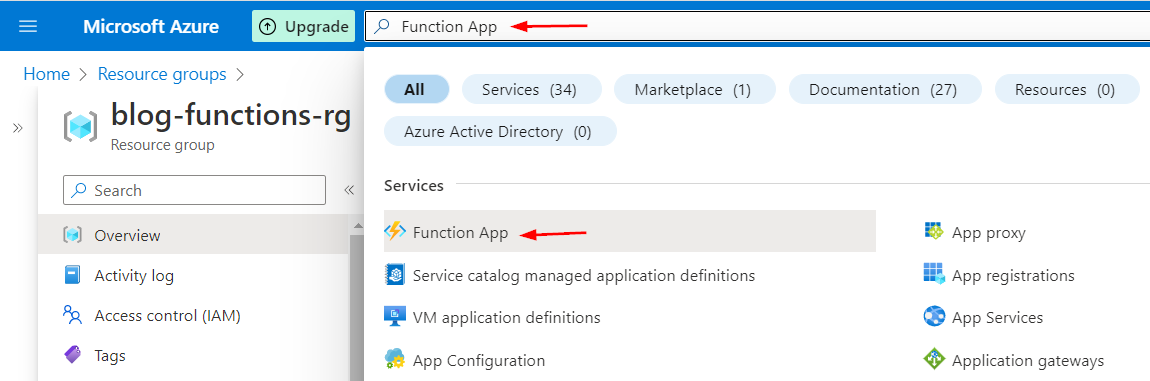
Now, let's create a Function App. Type Function App in the search field at the top and click onFunction App in the Services section of the results.
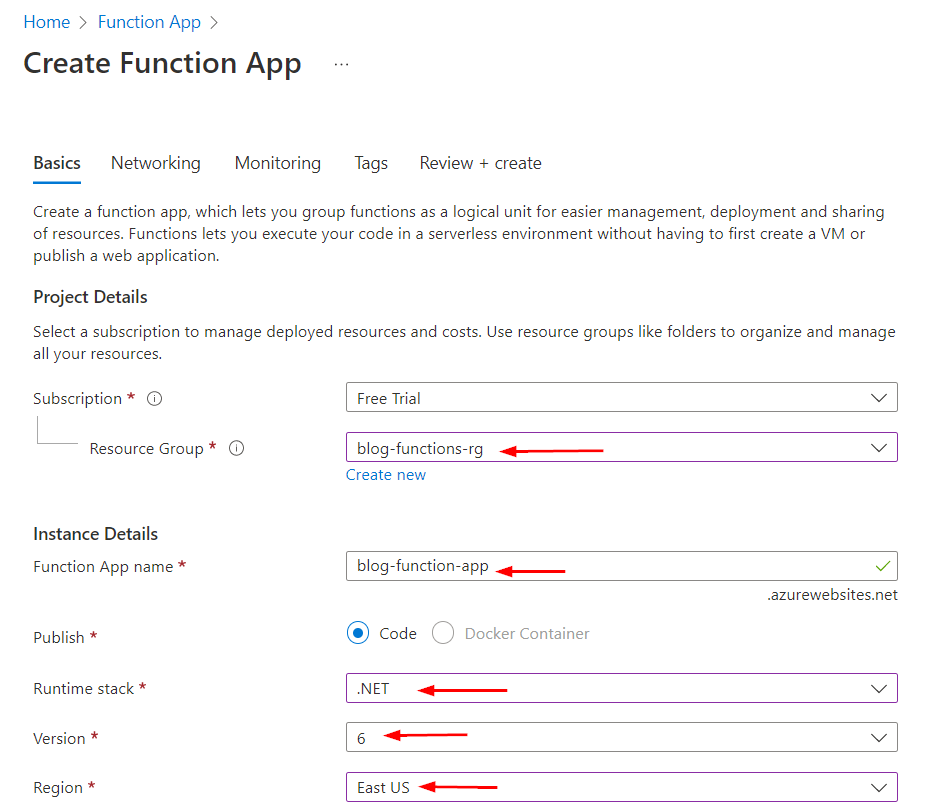
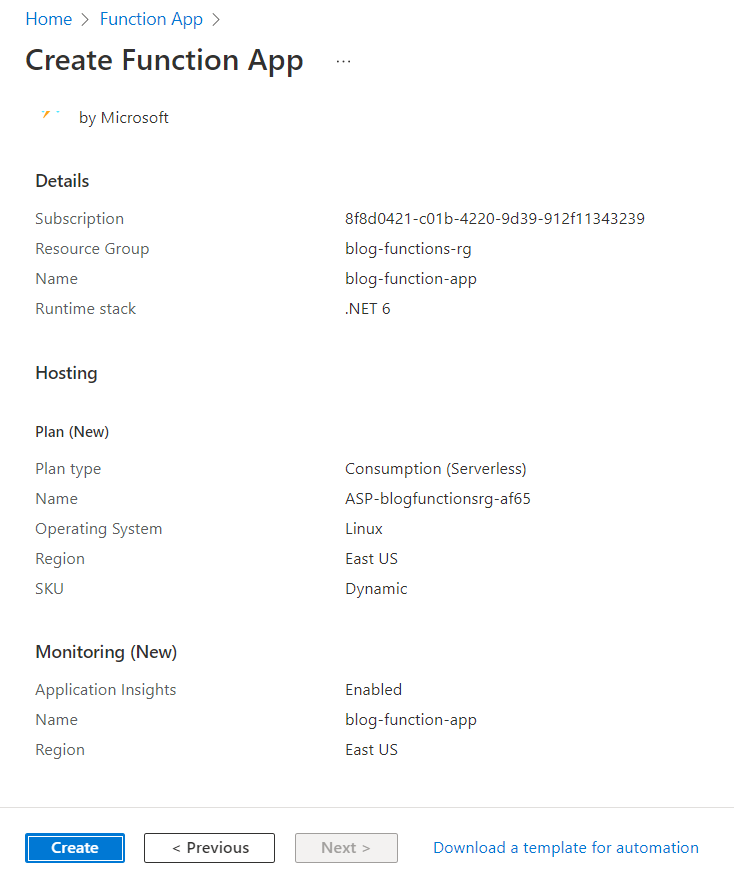
Again, our subscription will be automatically selected. We will use the blog-functions-rg Resource Group we just created and name our Function App blog-function-app. Note that this name must be globally unique because Azure uses <function-name>.azurewebsites.net as the base URL for the Function App. So, you will have to choose a different name. We are going to deploy the function we created using Visual Studio Code, so we will choose Code as the Publish option. We will pick .NET as the Runtime stack and 6 as the version since that is what we used to create our function. We will select the same region as the Resource Group, East US, to deploy the Function App.
We will use Linux as the Operating System (Windows will work too, but we will go with Linux as it appears to be the more popular choice for deploying code in the cloud). There are several pricing plans available and we will look at all the available plans in more detail in a future article. For now, we will go with the Consumption plan as this is a true serverless plan. You are charged based on how many times the function is executed. Another nice thing with this plan is that first 1,000,000 executions are free.
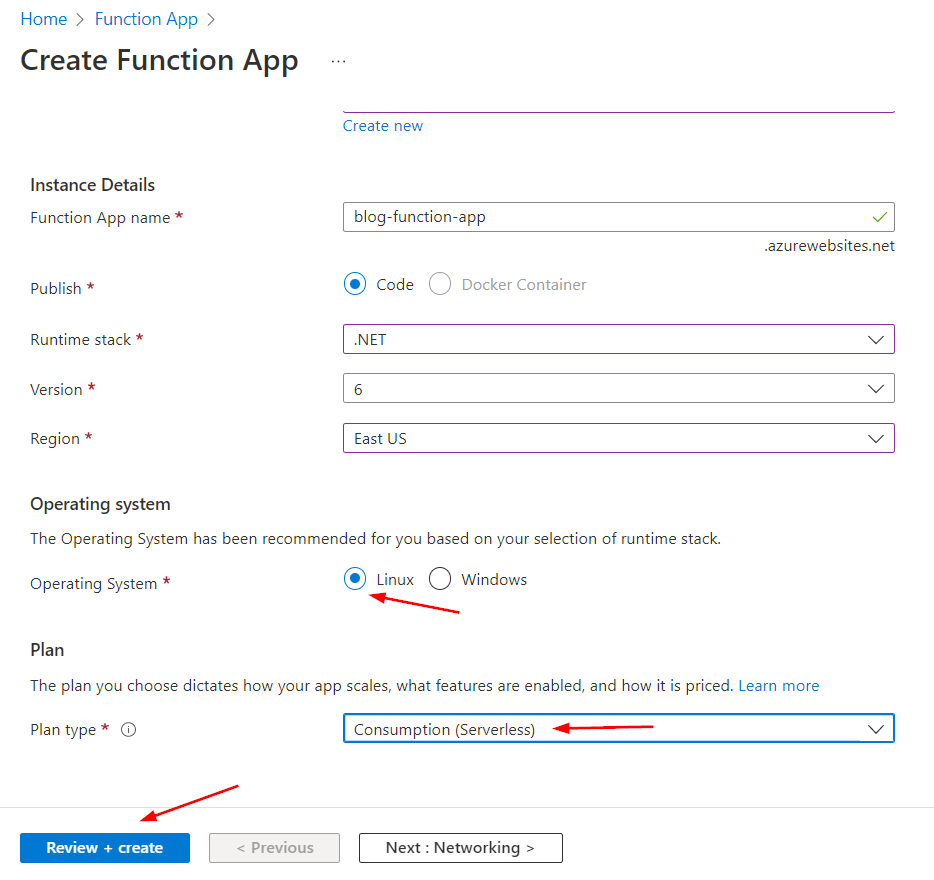
Click on Review + create to proceed. A confirmation screen will be displayed. Click Create to create the Function App.
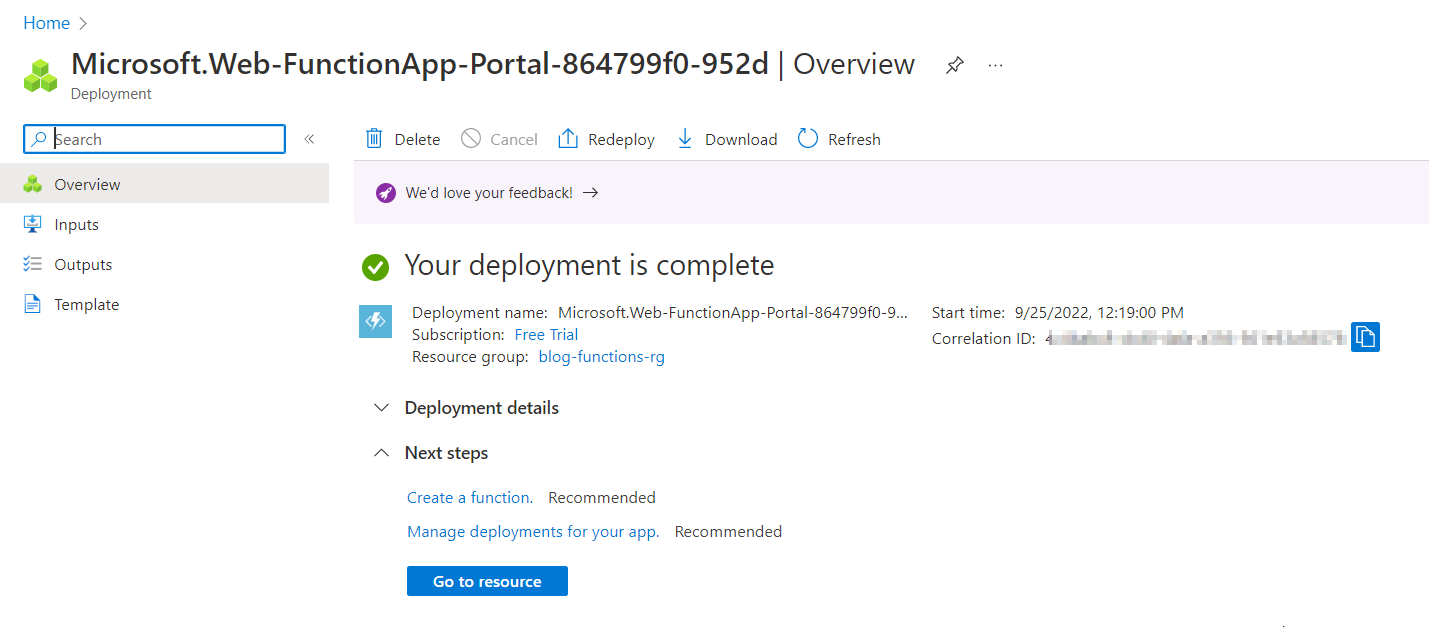
It may take some time for the deployment to be completed. Once it is complete, we will see a confirmation. Click on Go to resource to view details.
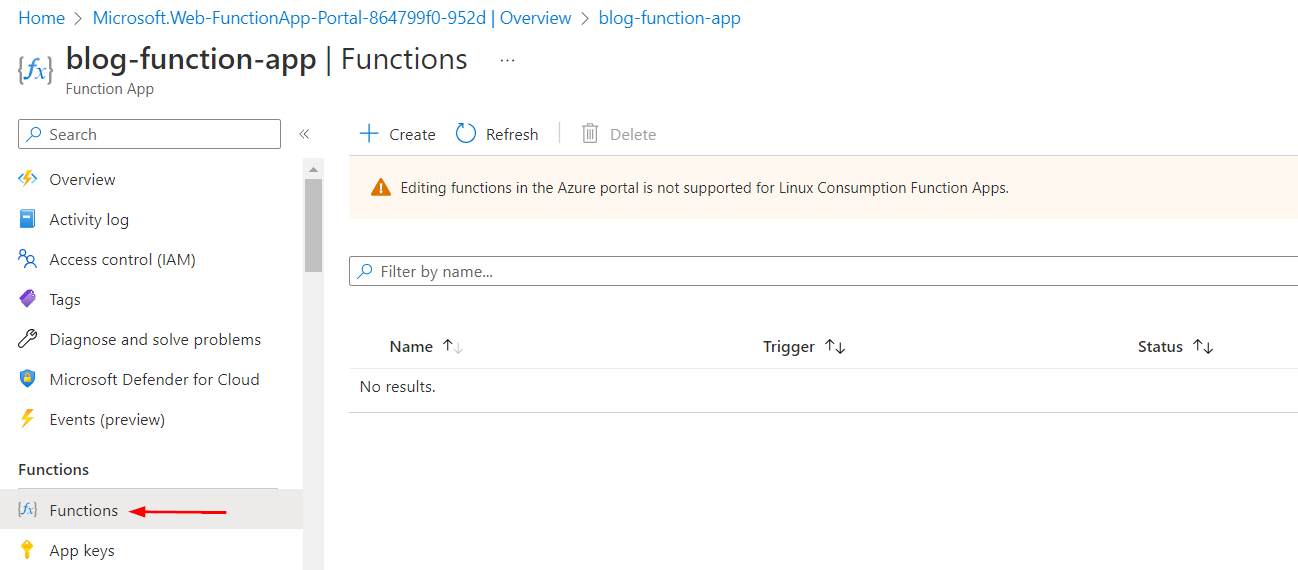
Click on the Functions menu on the left. Currently, there are no functions under this Function App.
Create a Storage account
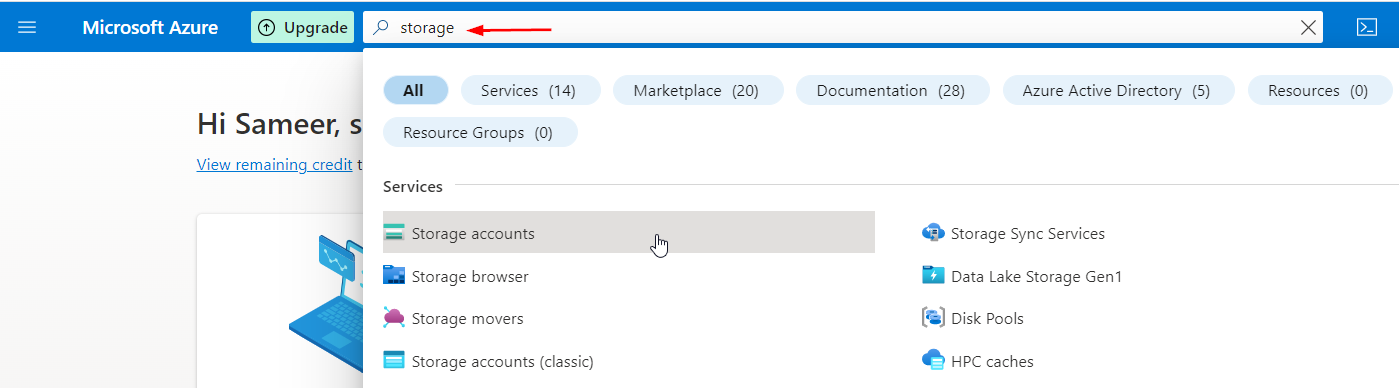
We must link a general purpose Azure Storage account to the Function App we just created because it relies on Azure Storage for operations like managing triggers and logging function executions. Since we don't have a Storage account, we will create one. In Azure Portal, type storage in the search bar and click on Storage accounts in the Service section of the search results.
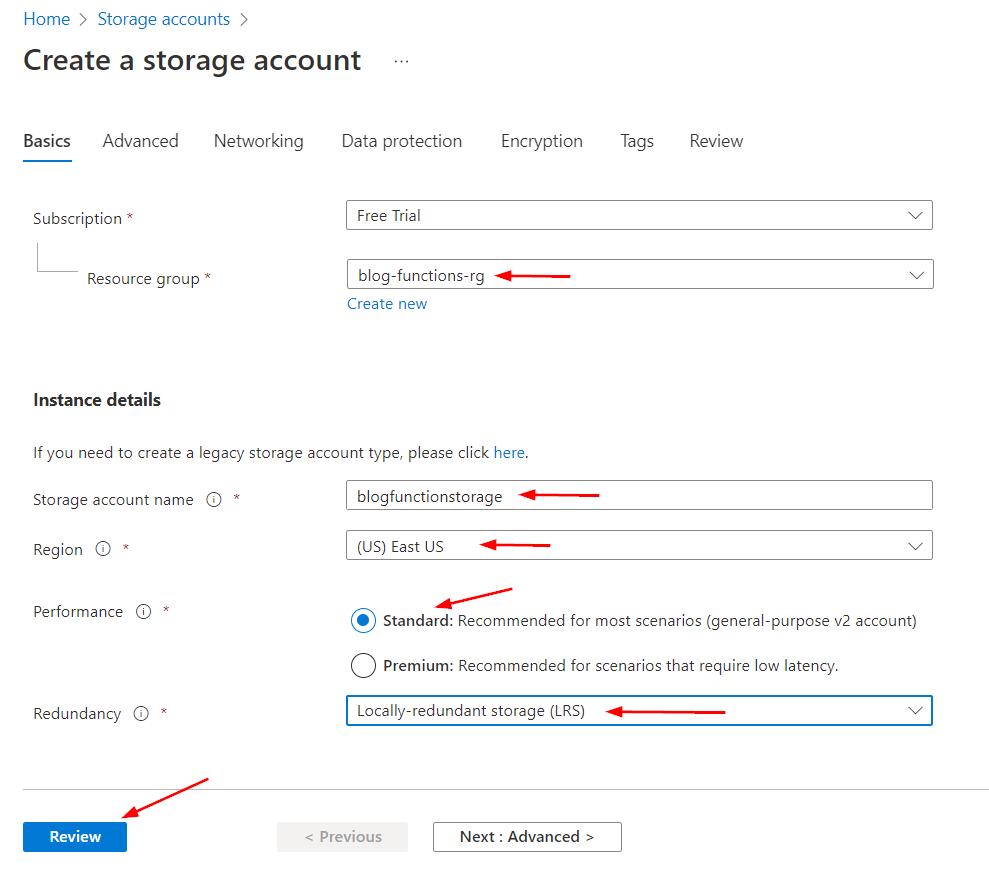
We will choose the same blog-functions-rg Resource Group. We will use blogfunctionstorage as the name (note that we cannot use hyphen, underscore or any other special characters in the name). We will select the same region as the Resource Group, East US. We will go with Standard option for Performance, since it will work for most scenarios and low latency is not really a requirement for us. For Redundancy we will opt for Locally-redundant storage (LRS) as it is the lowest cost option and recommended for non-critical scenarios. For production environments, it is advisable to use Zone-redundant, Geo-redundant or Geo-zone-redundant option depending on your requirements and budget. Click Review button to proceed.
Click Create to create the Storage Account.

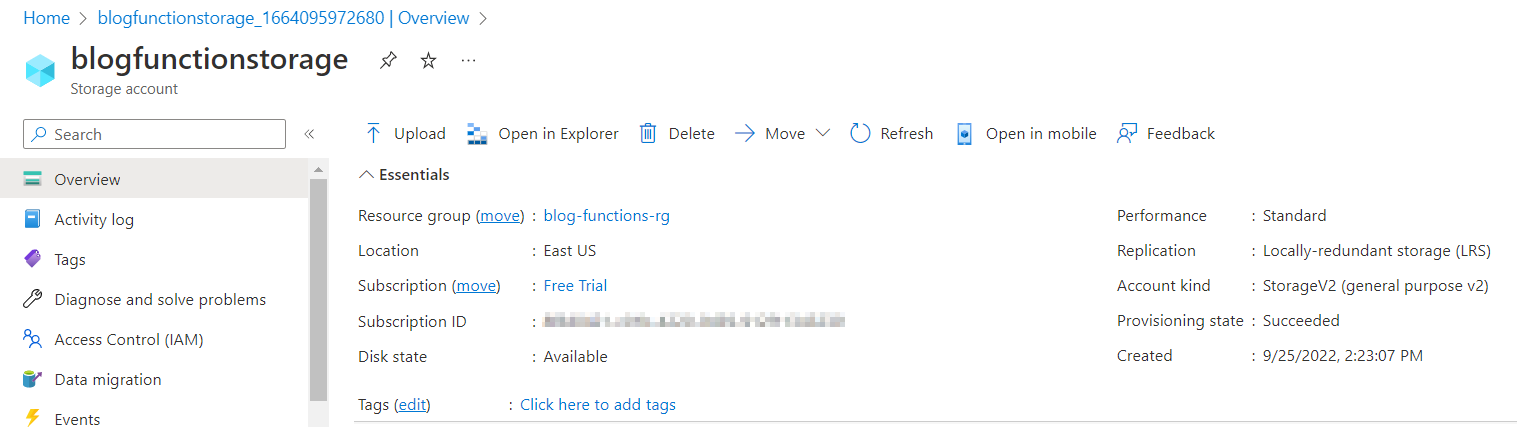
Once the Storage account is created, we should see the details in the Portal.
Link the Storage account to Function App
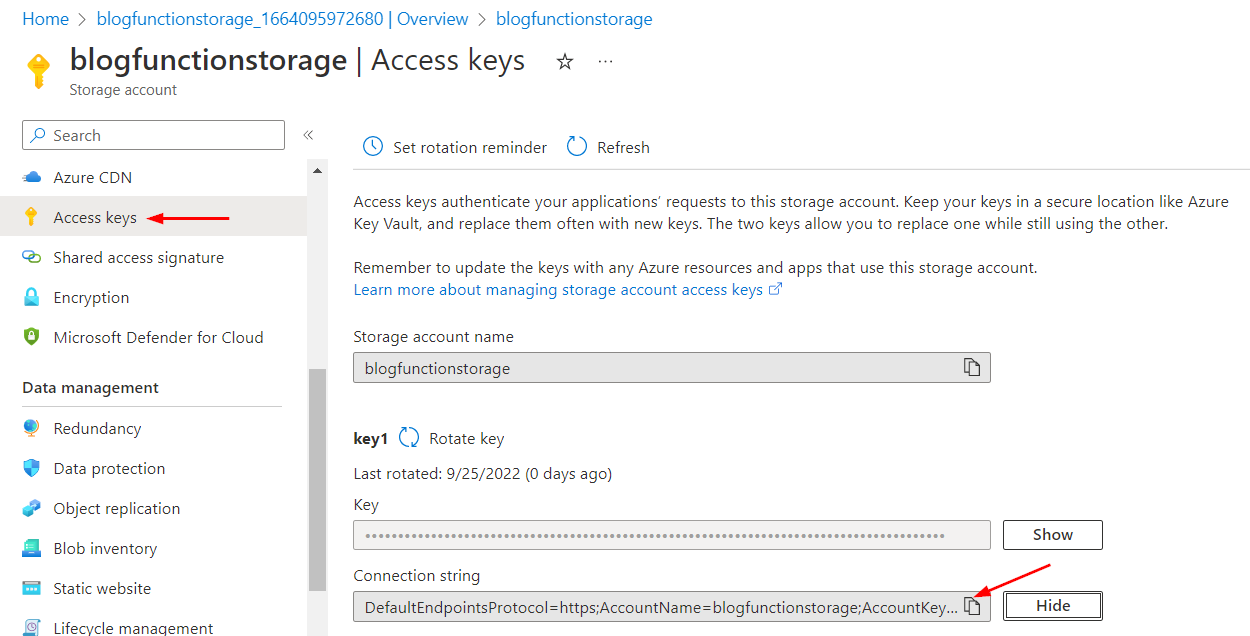
Now let's link this Storage account to our Function App. For this, we first need to get the connection string for our Storage account. Click on Access keys item in the left menu. That will display Access keys for the account. Click on the copy icon at the end of Connection string field.
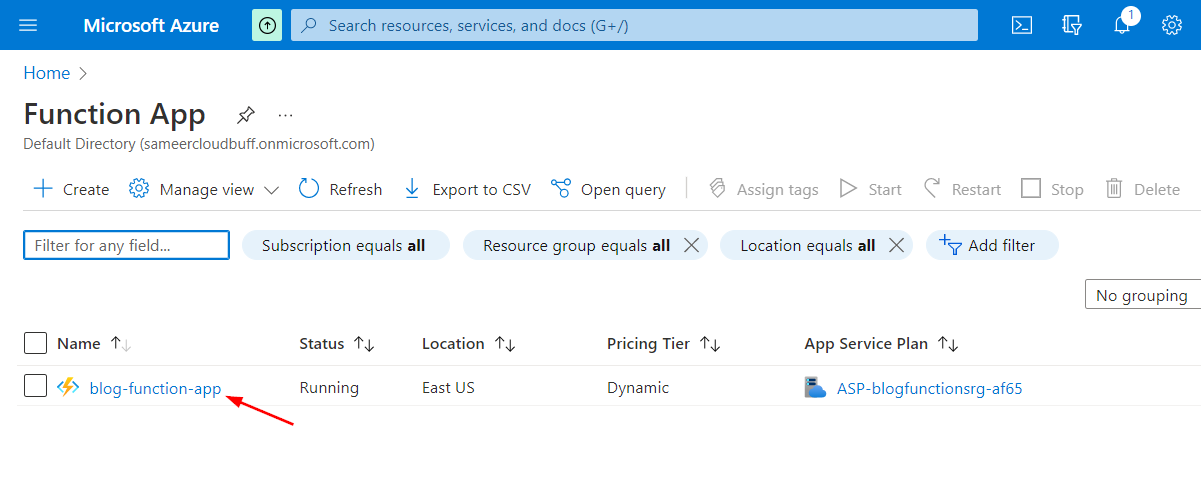
Go to the Function App by searching for Function App in the menu. Click on the name of the Function App.
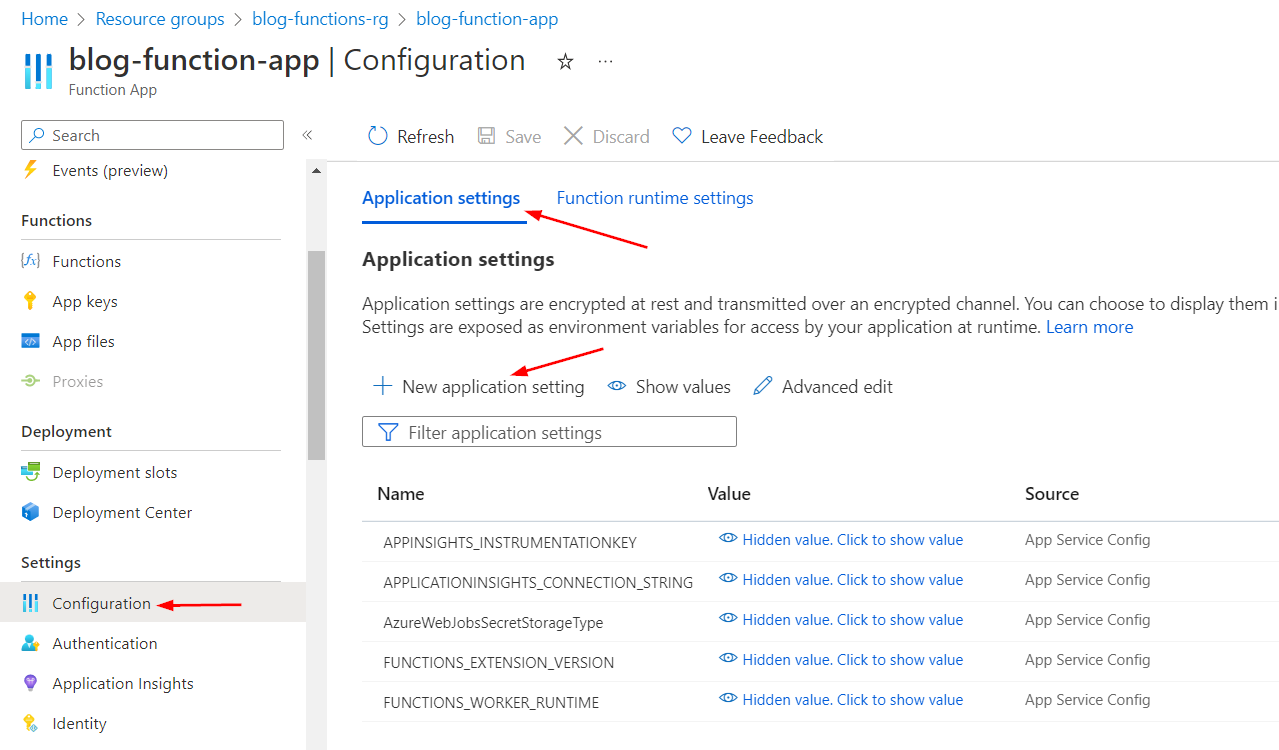
Select the Configuration item from left menu. Under the Application Settings tab, click on + New application setting link.
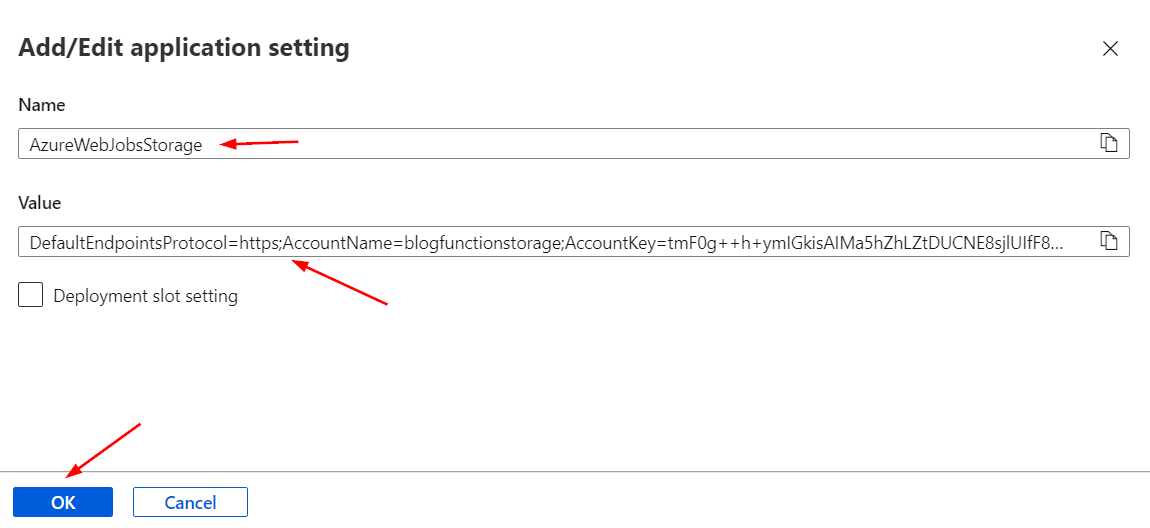
On Add/Edit application setting pop-up form enter AzureWebJobsStorage as the name and paste the Storage account connection string that we copied earlier. Click OK.
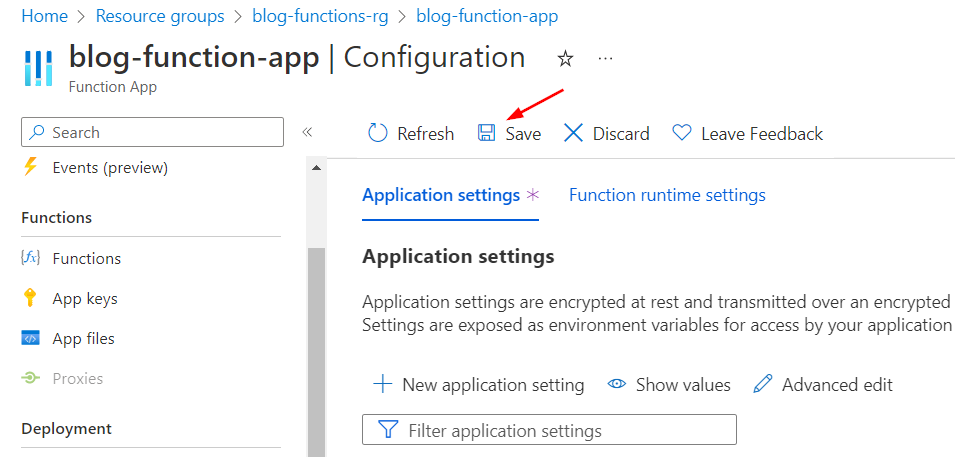
After the pop-up form closes, click on Save icon to save the new setting. We have now linked our Storage account with our Function App.
Deploy function
Now, we will switch over to Visual Studio Code, open the project that we created previously and deploy our function. Click on the Azure icon in the left menu.
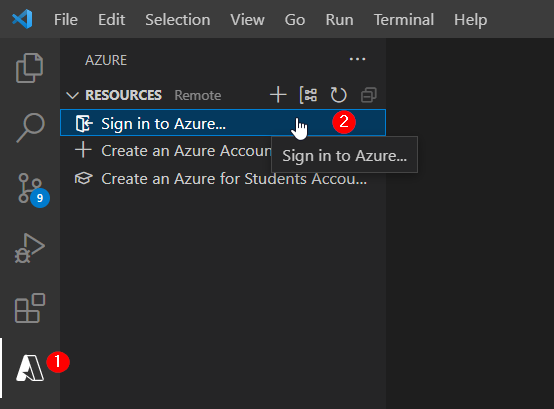
Click on Sign in to Azure... option. This will open a browser window. Login with your Azure credentials.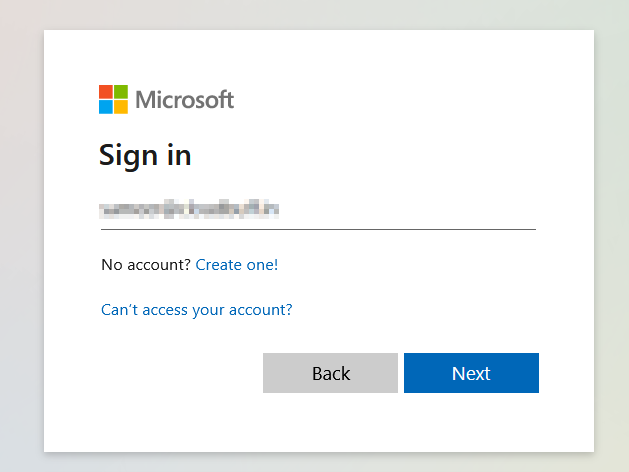
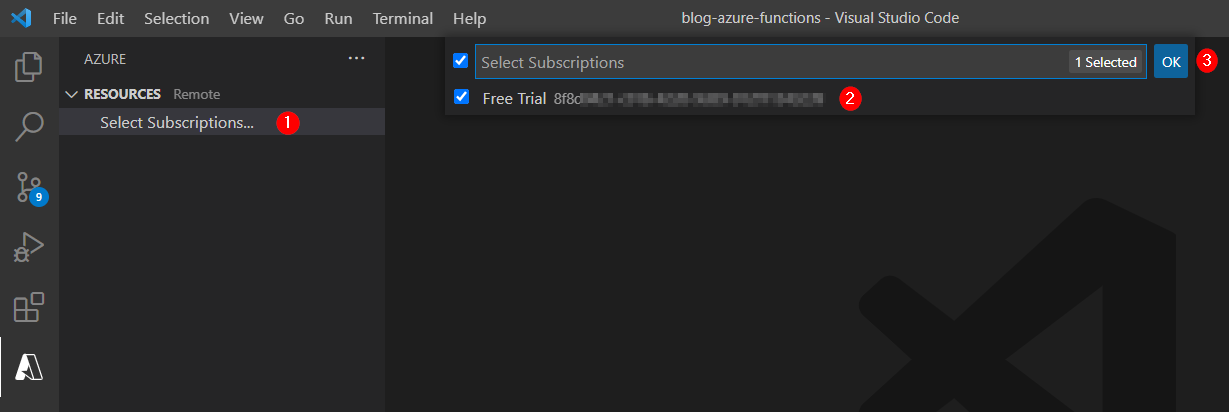
Upon successful login, we should see Select Subscriptions... option in VS Code. Let's select our subscription from the drop list.
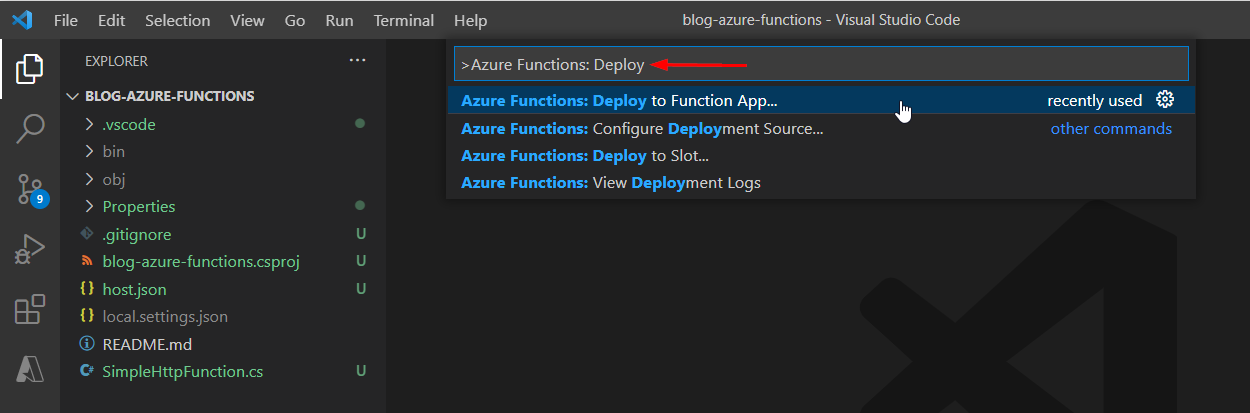
Open the Command Palette using keyboard shortcut Ctrl + Shift + P (use Cmd + Shift + P on Mac) or View > Command Palette... menu option. Type Azure Functions: Deploy into text box and select Azure Functions: Deploy to Function App... option.
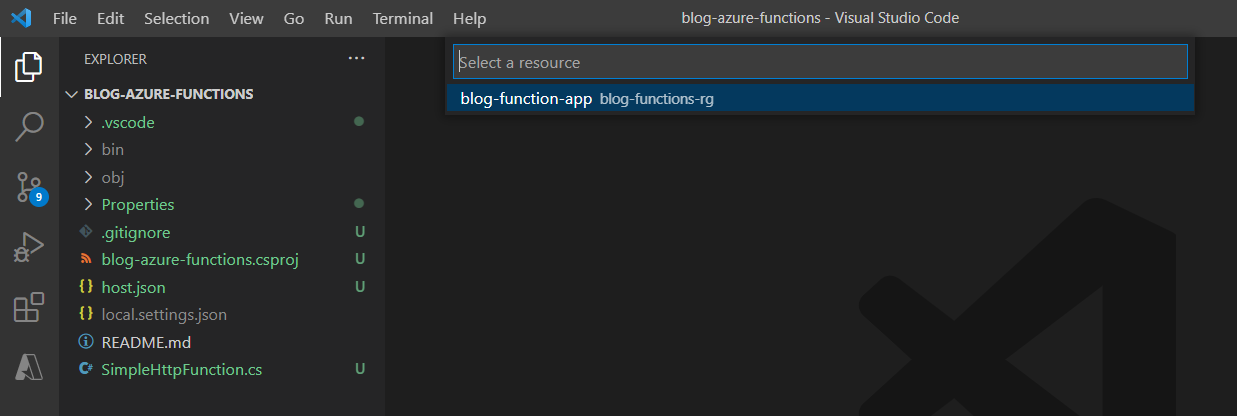
A list of Function Apps defined in Azure will be displayed. As we have created only one Function App blog-function-app, we should see just that in the list.
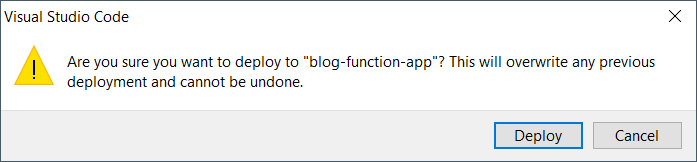
When we select blog-function-app for deployment, there will be a warning saying the previous deployment will be overwritten. We will click Deploy to proceed.
A Terminal window should open in VS Code and we should soon see Deployment to "blog-function-app" completed. message pop-up.
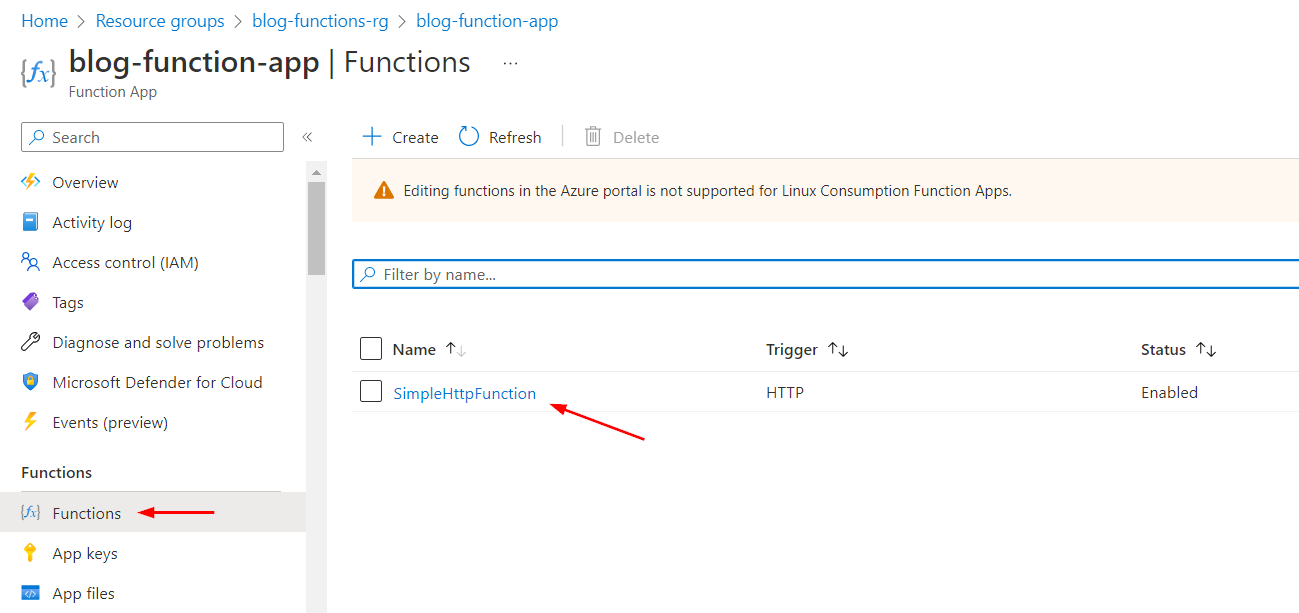
Our function code has been deployed successfully. If we go back to Function App in Azure Portal and click on Functions menu item, we should see SimpleHttpFunction in the list.
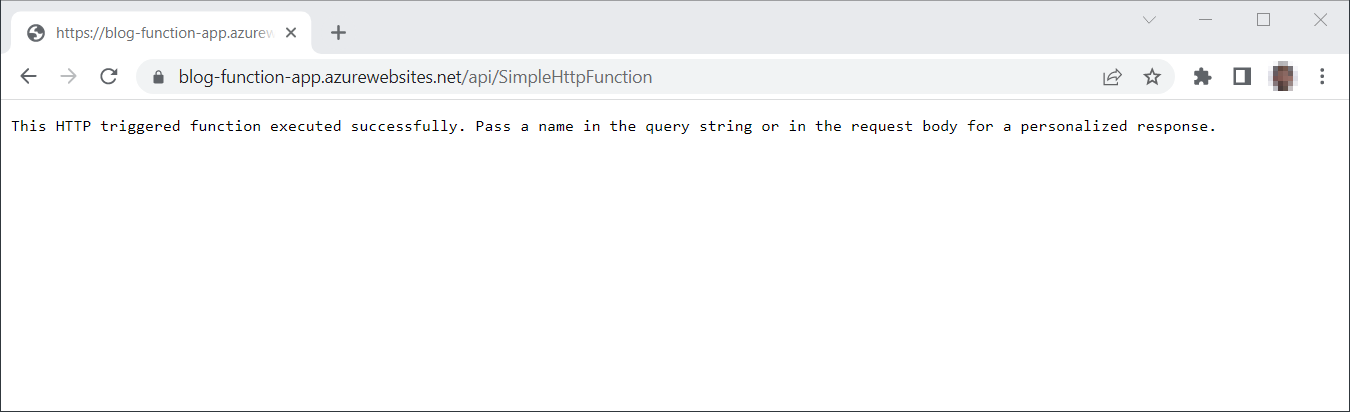
Now that our function is deployed, let make sure it works. Open a new browser or tab, put URL https://blog-function-app.azurewebsites.net/api/SimpleHttpFunction into the address bar and press enter. If a message like the one below is displayed, it means our function was executed successfully.
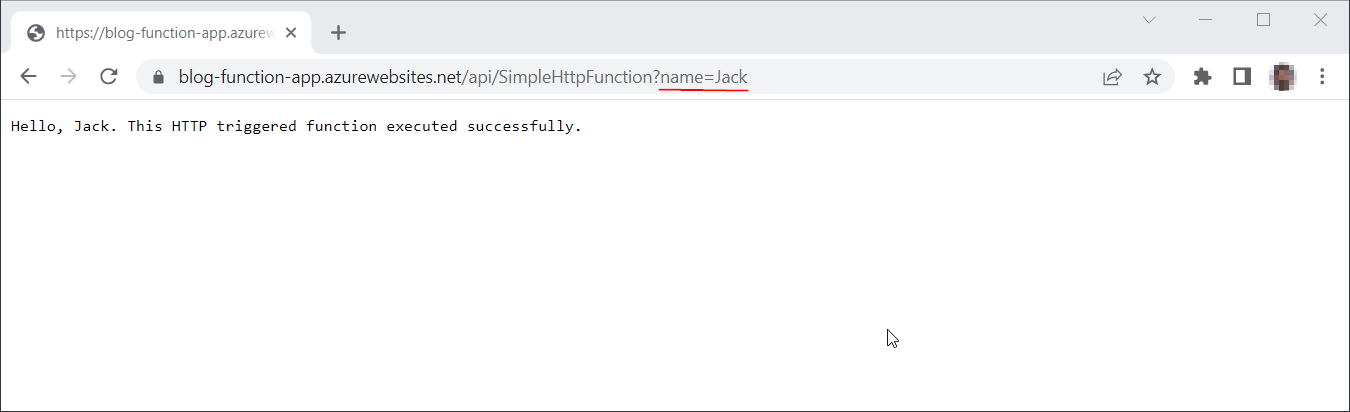
Now let's modify the URL. Add a name query parameter with Jack as the value:
https://blog-function-app.azurewebsites.net/api/SimpleHttpFunction?name=Jack
We will get a different response now. As you can see that both responses match what we saw when we tested the function locally.
And that's it!! We have successfully deployed our function to Azure.
Conclusion
In this article, we deployed a simple function with HTTP trigger to Azure cloud. In the next article, we will create a function that gets triggered when a message arrives in a Storage Queue.